
I have a complicated relationship with the sun. I love it, but I don’t. Like a lot of people, I feel better when the sun is shining. I’ve always loved the summer and soaking up the sun’s rays.
In my younger years, I’ve used everything from iodine (what was I thinking?) to baby oil to get that elusive golden tan. I have light skin that freckles way too easily.
At first, my skin turns pinkish-red and then it usually turns tan, but I only ever get so tan. I reach a point and I don’t get any darker, which isn’t too dark to begin with.
As I’ve gotten older, I get more discoloration than ever from tanning, so I prefer to be protected with SPF or stay out of the sun completely. Enter self-tanner!
The Self Tanning Process
Years ago when I attempted to use self-tanner in high school I distinctly remember someone remarking that I looked orange. Self-tanners have come a long way since then and I’ve tried a lot of them. The hard facts are that self-tanning takes commitment, so if you understand that fact, you’ll set yourself up to get a believable albeit fake tan.
The following four-step process can be streamlined as you get more practice with self-tanning. Everyone’s skin will be different. Some people’s skin will retain a fake tan longer than others, so do what works best for your skin.
This post contains affiliate links, and any purchases made through these links will result in a commission for me at no extra cost to you. Please read my Disclosure for additional information.
Step 1 – Exfoliate
Body Exfoliation
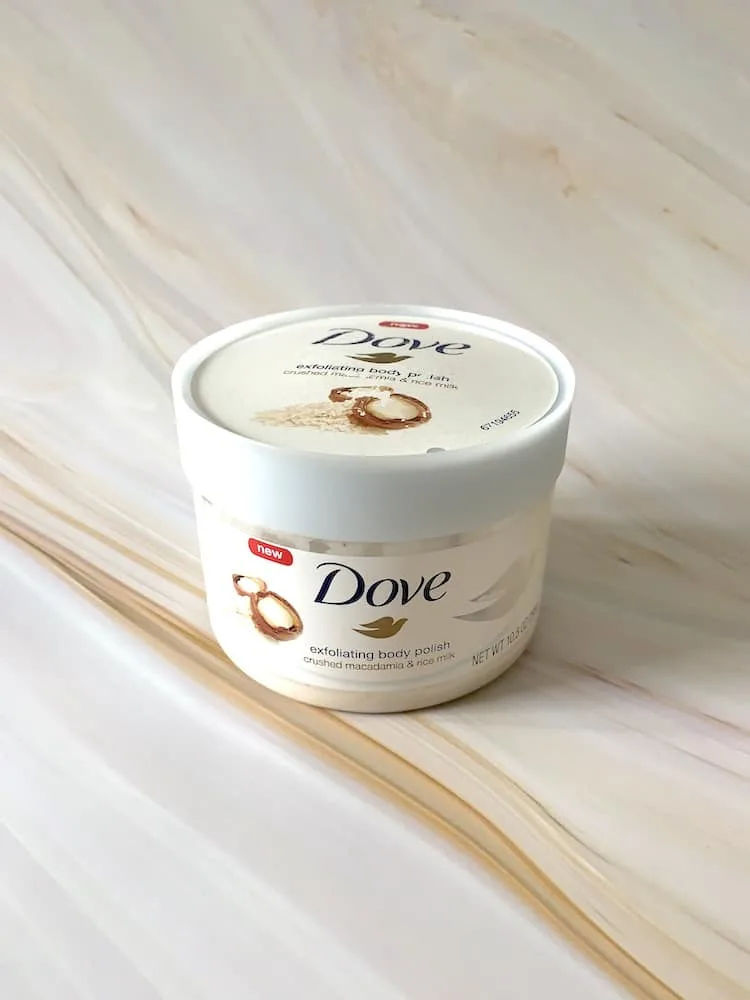
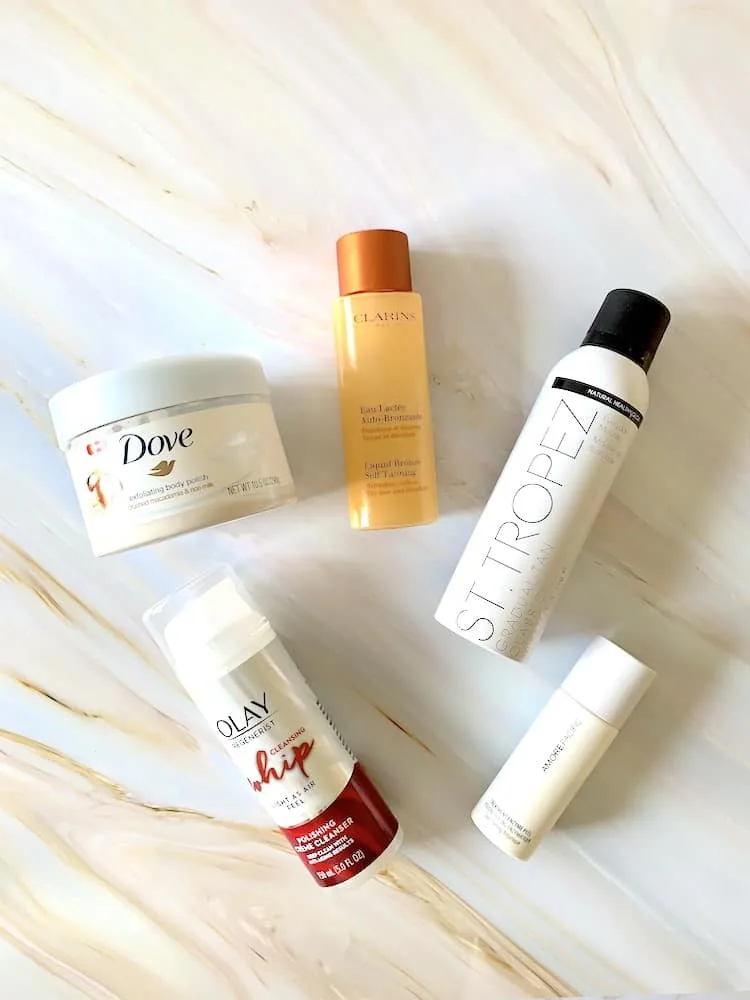
Before you even think about applying self-tanner, you need to prep your skin. There are many options for exfoliation, but lately, I have been loving Dove’s Exfoliating Body Polishes. It’s so nice to see a good body scrub available in drugstores.
I’ve gone through two tubs of Dove Macadamia & Rice Milk Body Polish. The scent is very understated, warm and inviting.
These body polishes have a whipped texture and exfoliate very gentle while also moisturizing with their 1/4 moisturizing cream formula. The formulas are sulfate-free and they really get rid of dry and patchy dead skin.
This body polish leaves your skin so soft and smooth. The exfoliating beads are made out of silica so there are no harsh edges.
It stays where you apply it as well so it doesn’t immediately slide right off your wet skin. When prepping for self-tanning, try to pay special attention to elbows, knees, ankles, and feet.
For its reasonable price, you can afford to be generous with your exfoliation every few days. Once you finish exfoliating, you can also shave. Shaving helps prior to self-tanning to remove not only hair but additional dead skin cells.
Facial Exfoliation
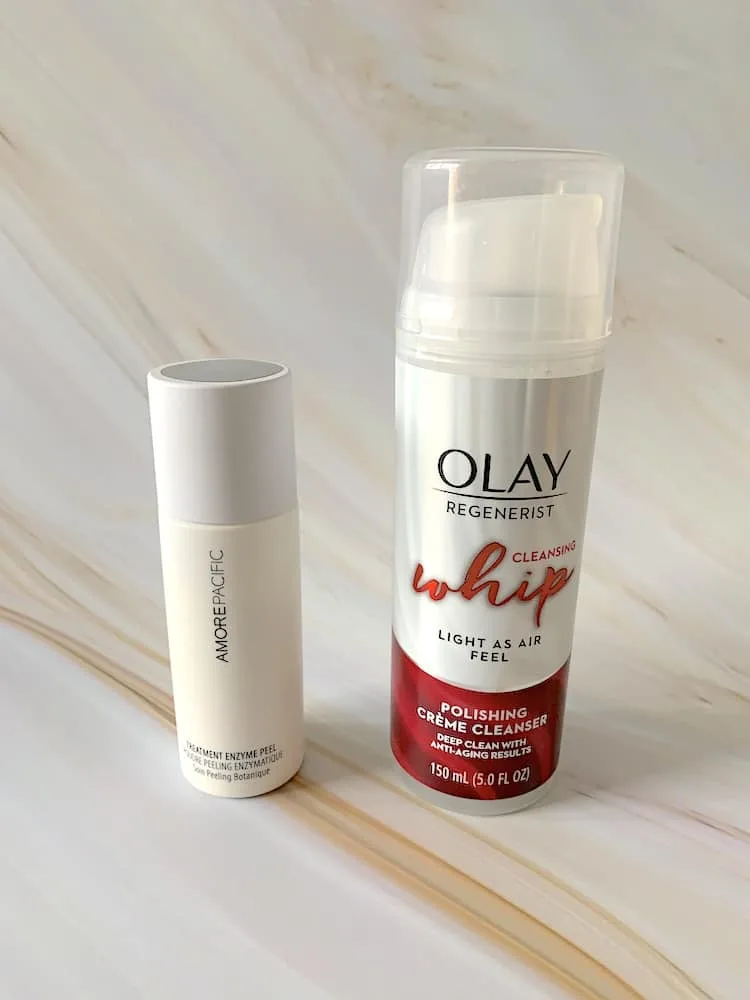
For the face, you can reach for either a light chemical or physical exfoliator to ensure that dead skin cells are minimized prior to self-tanning.
I love the gentle Amore Pacific Treatment Enzyme Peel which is a botanical exfoliator. It contains a green tea derived probiotic enzyme (lactobacillus ferment) and papaya enzymes (papain) to help exfoliate your skin. The fine grains of powder mix with a few drops of water to create a lather that sloughs away dead skin cells.
If you opt for physical facial exfoliation, a gentle scrub will do the job. For a less expensive physical exfoliation, Olay Regenerist Cleansing Whip Facial Cleanser is a creme polish cleanser that contains Vitamin B3 and Carob Seed Extract. It has fine micro-polishers that are not too abrasive.
Keep in mind that if you use chemical treatments such as lactic acid treatments they will also have an exfoliating effect. Try not to overdo it with exfoliating your face so as not to cause irritation.
Step 2 – Moisturize, Moisturize, Moisturize
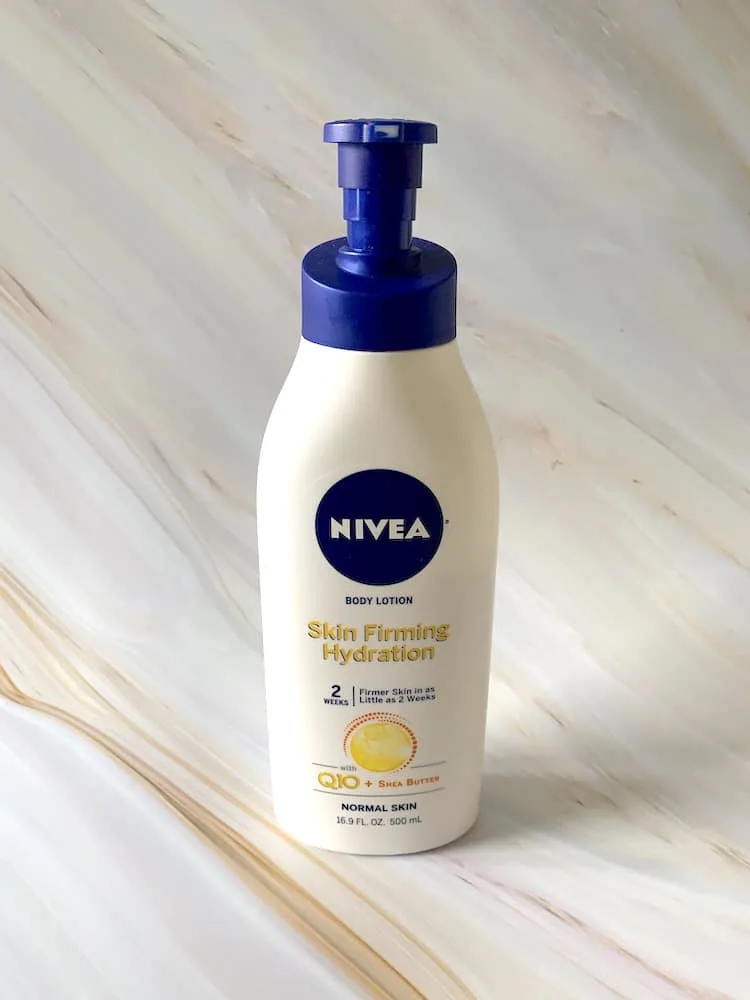
Once you’ve exfoliated, make sure to moisturize really well for the day paying special attention to those tricky areas previously mentioned: elbows, knees, ankles, and feet.
These are the spots that show mistakes the easiest and may end up streaky.
A light moisturizer like Nivea Skin Firming Hydration Body Lotion will prep your skin to absorb the self-tanner more evenly without it clumping to dry skin.
Wait for the moisturizer to absorb for a few minutes before applying the self-tanner. Self-tanning at night is an option to help avoid the inevitable self-tanner smell that you will notice throughout the day.
Step 3 – Apply Self Tanner
Self Tanner For the Body
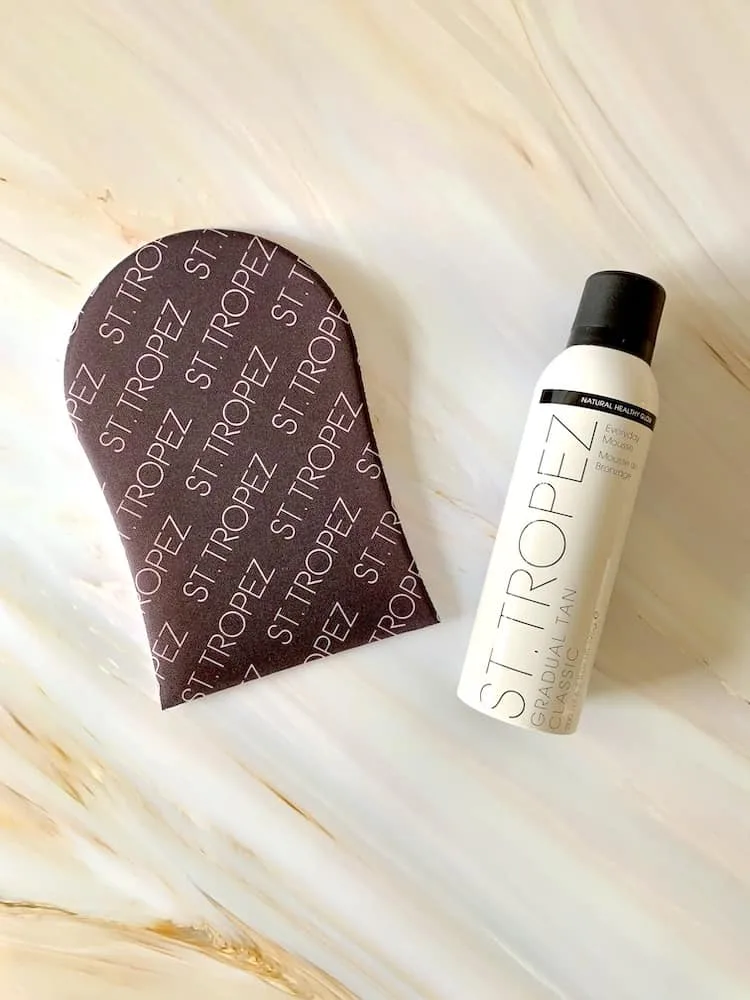
I have been loving St. Tropez Gradual Self Tanning Mousse since it doesn’t deposit a deep dark tan in one application that I am certain to goof up. Using the self-tanner a few mornings or evenings in a row generates a base tan and then you can apply it every couple of days for maintenance.
Use a tanning mitt with the mousse to ensure an even application. Apply the mouse directly to the mitt and follow the directions by applying in upward circular motions taking special care around your elbows, knees, ankles, and feet.
You have to experiment with the right amount of mousse for you but since the color deposited will not be dark in one application, you can afford to use a little more to see how it affects your skin.
The mousse is colorless, so there won’t be any guides to show you where it is going, so you need to make sure that it is blended well.
The mousse dries pretty quickly but be sure to wait until your skin feels dry before dressing. Don’t forget to wash the mitt. You can use warm water and makeup brush cleanser or liquid soap to remove mousse from the mitt.
This self-tanner fades really evenly, even if you don’t continue tanning. Another plus is that after application, the self-tanner scent is minimal and much less than any other self-tanning product I’ve ever used.
Another gradual tanning option that combines a firming moisturizer and self-tanner in one is Jergens Natural Glow Firming Moisturizer in Medium/Tan. This is great for those days where you don’t have the time to run through the entire self-tanning process. No mitt required.
Related: Isle of Paradise Self Tanning Review
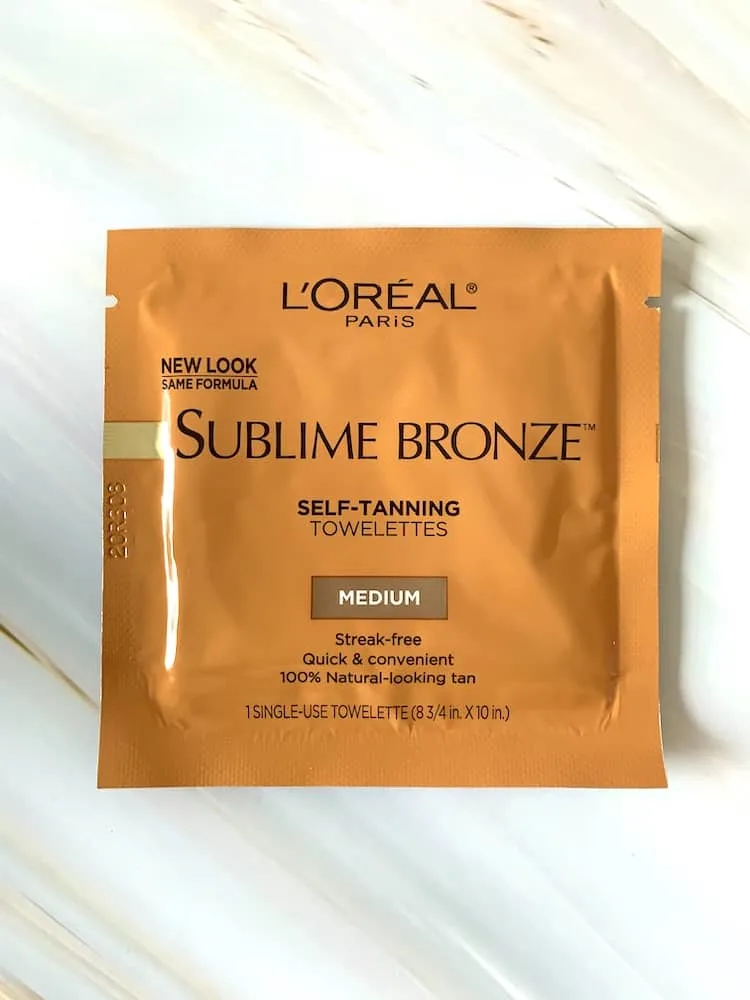
If you need a quicker and deeper tan, L’Oreal Paris Sublime Bronze Self-Tanning Towelettes in Medium are a great option. They come in a box of 6 and are infused with AHA derivatives and Vitamin E for a streak-free tan.
One towelette works for your whole body and will provide a natural-looking color after the first use. Note that you do need to be more careful with blending in the self-tanner. The towelette will deposit a stronger color on the initial application.
Self Tanner For the Face
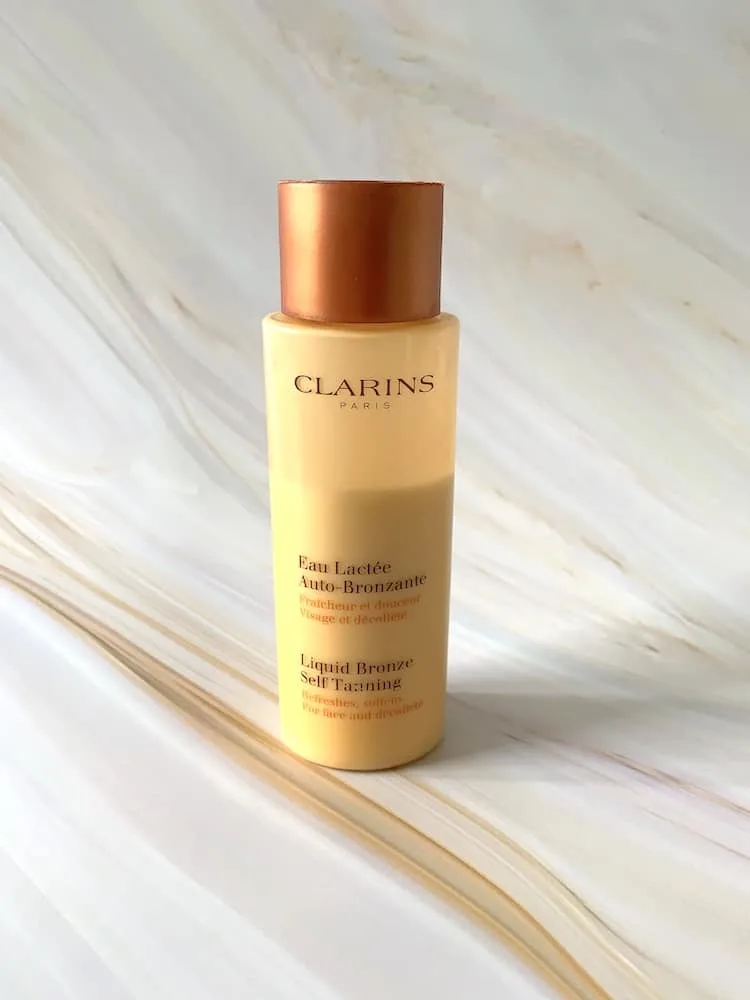
For your face, Clarins Liquid Bronze Self Tanning is a natural-looking self-tanner that is easy to incorporate into your skincare routine. The directions say to apply this milky liquid with a cotton pad after your day cream, but I apply it with my fingers after my evening skincare.
It is a trusted favorite because it provides an authentic color, never irritates my skin and is not streaky or patchy. The color is light enough that a daily skincare routine should exfoliate it, so it can be applied every day.
Related: Best Face Self-Tanners For Acne Prone Skin
Step 4 – Exfoliate!
Just when you think you are done, you are not! While you are self-tanning your body, continue to lightly exfoliate your skin in the shower every few days.
You don’t need to aggressively exfoliate and remove the tan. Just lightly exfoliate your skin as your tan fades so the color doesn’t cling to dry skin and create an unpleasant patchy dirty look. This helps the tan fade more evenly and prepares your skin if you will be tanning again.
Self-tanning is definitely a process, and I can’t even count the hours I’ve spent self-tanning over the years. I’m at the point where I want a reliable natural-looking color that won’t take too long to achieve.
These products and steps should help you achieve that natural-looking golden glow in a reasonable amount of time.
Thanks for reading!

